
Apr . 01, 2024 17:55 Back to list
Oil Pressure Gauge how to install oil pressure gauge Performance Analysis
Introduction
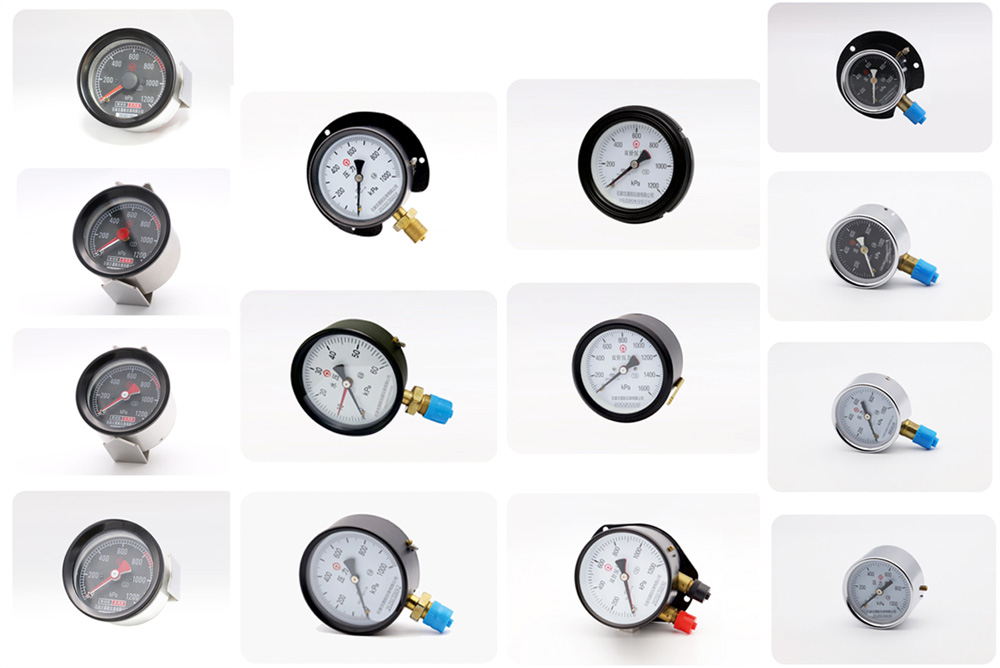
The oil pressure gauge is a critical instrument in internal combustion engine monitoring, providing real-time indication of the lubricating oil's pressure within the engine’s oil galleries. This gauge is not merely a diagnostic tool; it is fundamental to preventative maintenance and avoiding catastrophic engine failure. Incorrect oil pressure can signify a multitude of problems, ranging from a failing oil pump and clogged oil filter to worn engine bearings and internal leaks. The gauge functions based on the Bourdon tube principle, where pressurized oil deforms a curved tube, and this deformation is mechanically linked to a needle that indicates pressure on a calibrated scale. Its installation, therefore, is crucial for accurate readings and reliable engine operation. This guide details the technical aspects of oil pressure gauge installation, covering material considerations, the installation process, and essential verification procedures, geared towards professional automotive technicians and experienced DIY mechanics. A core pain point in the industry is improper installation leading to inaccurate readings or, worse, leaks resulting in significant engine damage and costly repairs.
Material Science & Manufacturing
Oil pressure gauges rely on a combination of materials selected for their resistance to corrosion, temperature variations, and compatibility with petroleum-based fluids. The Bourdon tube is typically manufactured from beryllium copper or stainless steel alloys (specifically 316L grade), chosen for their high elastic limit and corrosion resistance. The gauge case is commonly constructed from ABS plastic or steel, with a polycarbonate lens for impact resistance and clarity. The sending unit, which transmits the oil pressure to the gauge, utilizes a diaphragm made of stainless steel, coupled with a potentiometer for electrical resistance changes proportional to pressure. Manufacturing processes include deep drawing for the Bourdon tube, precision machining for the internal mechanisms, and plastic injection molding for the gauge housing. Critical parameters during manufacturing include maintaining tight tolerances on the Bourdon tube’s dimensions (wall thickness, curvature) and calibrating the potentiometer for linearity and accuracy. The threads on the sending unit (typically NPT or BSPT) must be manufactured to precise standards to ensure a leak-proof seal. Chemical compatibility between the gauge’s internal components and the engine oil is paramount; prolonged exposure to incompatible additives can lead to corrosion and gauge failure. The diaphragm material’s elasticity needs to be maintained within specific limits during the manufacturing process to guarantee accurate pressure translation.
Performance & Engineering
The performance of an oil pressure gauge hinges on several engineering considerations. Force analysis focuses on the stress distribution within the Bourdon tube under varying pressure loads. Finite Element Analysis (FEA) is often employed during the design phase to optimize the tube’s geometry and material selection to prevent yielding or rupture. Environmental resistance is critical, specifically the gauge’s ability to withstand temperature fluctuations, vibration, and exposure to engine fluids. Sealing integrity is achieved through the use of appropriate O-rings and thread sealants (typically PTFE-based) compatible with petroleum products. Compliance requirements include adherence to SAE J584 standards for pressure gauge accuracy and ASTM E203 for material testing. Functional implementation involves the accurate conversion of oil pressure into a readable indication. The sending unit’s electrical signal must be stable and linear across the gauge’s operating range. Hysteresis, the difference between rising and falling pressure readings, must be minimized to ensure accurate measurements. Calibration is performed using a calibrated pressure source and adjusting the potentiometer to match the gauge’s indicated pressure to the actual applied pressure. Proper grounding of the electrical components is also crucial to prevent electrical interference and ensure accurate readings.
Technical Specifications
| Parameter | Typical Value (Automotive Application) | Tolerance | Testing Standard |
|---|---|---|---|
| Pressure Range | 0-100 PSI (0-7 Bar) | ± 2% Full Scale | SAE J584 |
| Accuracy | ± 1.5% Full Scale | Dependent on Calibration | ASTM E203 |
| Thread Size (Sending Unit) | 1/8” NPT or 1/8” BSPT | ISO 6220 | ISO 9988 |
| Operating Temperature | -40°C to +125°C | ± 5°C | IEC 60068-2 |
| Vibration Resistance | 10 Hz - 500 Hz, 3G | No functional degradation | ISO 16750-3 |
| Ingress Protection (IP) Rating (Gauge Case) | IP67 | Dust tight, temporary immersion | IEC 60529 |
Failure Mode & Maintenance
Oil pressure gauges are susceptible to several failure modes. Fatigue cracking in the Bourdon tube can occur due to prolonged exposure to high pressure cycles and vibration. Delamination of the diaphragm in the sending unit can lead to inaccurate readings or complete failure. Degradation of the O-rings and thread sealants can cause oil leaks. Oxidation of internal components, particularly electrical contacts, can result in signal loss and inaccurate readings. A common failure point is the restriction within the sending unit caused by debris in the oil, preventing accurate pressure translation. Maintenance involves periodic visual inspection for leaks, corrosion, and physical damage. The sending unit should be replaced if it exhibits signs of corrosion or degradation. Ensure the gauge is properly calibrated periodically using a calibrated pressure source. Check the wiring connections for corrosion and secure connections. If the gauge consistently reads inaccurately after calibration, it likely requires replacement. Regular oil changes with high-quality oil filters help prevent debris buildup and extend the gauge’s lifespan. Do not overtighten the sending unit, as this can damage the threads and create leaks.
Industry FAQ
Q: What is the correct torque specification for installing the oil pressure sending unit?
A: The correct torque specification varies depending on the sending unit’s thread size and the engine manufacturer’s recommendations. However, a general guideline is 15-25 ft-lbs (20-34 Nm) for a 1/8” NPT thread. Always consult the vehicle's service manual for the specific torque value to avoid stripping the threads or causing leaks.
Q: How can I verify the accuracy of the oil pressure gauge after installation?
A: The most reliable method is to use a calibrated pressure gauge connected to the engine’s oil pressure test port. Compare the readings from the installed gauge to the calibrated gauge at various engine speeds. Discrepancies beyond the tolerance specified in SAE J584 (typically ± 2% full scale) indicate a problem with the gauge or the installation.
Q: What type of thread sealant should be used when installing the sending unit?
A: PTFE-based thread sealant is recommended. It’s chemically compatible with engine oil and provides a leak-proof seal without contaminating the oil system. Avoid using sealants containing silicone or other additives that can damage the sending unit’s internal components.
Q: What causes erratic oil pressure readings?
A: Erratic readings can be caused by several factors, including a faulty sending unit, loose wiring connections, electrical interference, or air in the oil system. Inspect the wiring harness and connections first. If those are secure, suspect the sending unit and consider replacing it. Air in the system can sometimes be purged by running the engine for a short period.
Q: Can a low oil level cause a false low oil pressure reading?
A: Yes, critically low oil levels can cause the oil pump to ingest air, resulting in a falsely low oil pressure reading. Always verify the oil level before diagnosing oil pressure problems. A low oil level can also damage the oil pump and other engine components, so it should be addressed immediately.
Conclusion
The installation of an oil pressure gauge, while seemingly straightforward, demands meticulous attention to material compatibility, proper torque specifications, and accurate calibration. A correctly installed and functioning gauge provides invaluable insight into the engine’s lubrication system health, enabling proactive maintenance and preventing potentially catastrophic failures. Ignoring proper installation procedures or dismissing inaccurate readings can lead to significant engine damage and costly repairs.
Ultimately, understanding the underlying principles of gauge operation, adhering to industry standards, and employing methodical diagnostic techniques are paramount for ensuring reliable engine performance and longevity. Future developments may include integrating digital oil pressure sensors with real-time data logging capabilities and wireless communication for remote monitoring, enhancing preventative maintenance strategies and minimizing downtime.