

Nov . 22, 2024 16:22 Back to list
diy differential pressure gauge
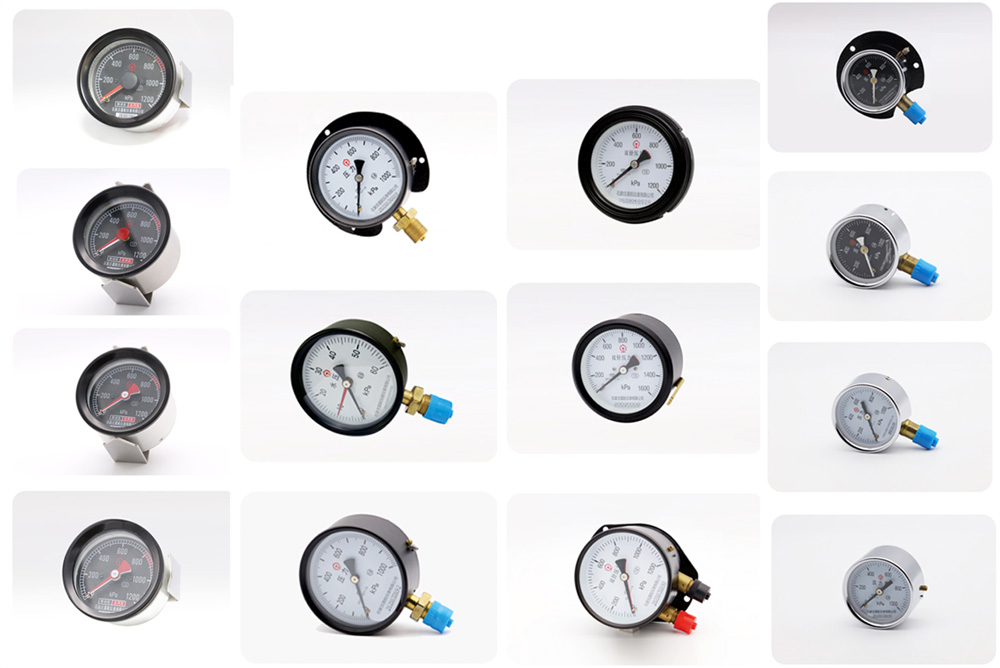
DIY Differential Pressure Gauge A Step-by-Step Guide
A differential pressure gauge is an essential instrument used in various applications, such as HVAC systems, fluid dynamics, and processing industries, to measure the difference in pressure between two points. Understanding how differential pressure can impact system performance is crucial, especially in maintaining efficiency and safety. While commercial gauges are widely available, creating your own DIY differential pressure gauge can be both cost-effective and educational. In this article, we'll outline the steps to build a simple and effective differential pressure gauge using readily available materials.
Materials Needed
1. Manometer (U-tube) You can purchase a ready-made manometer or construct one using a clear plastic tube and a ruler for measurement. 2. Fluid Use water, colored water, or mineral oil as the manometer fluid. The fluid should be appropriate for the pressure ranges you plan to measure. 3. Pressure Taps Two small tubes or fittings to connect to the points in your system where you need to measure pressure. 4. Sealant Teflon tape or other sealing materials to ensure no leaks occur in your system. 5. Baseboard or plate For mounting the gauge securely in place. 6. Optional A digital pressure sensor and microcontroller (e.g., Arduino) for a more advanced gauge that can log data and display readings electronically.
Step-by-Step Instructions
1. Design the Manometer - If you're making a U-tube manometer, cut the clear plastic tubing to the desired length (around 1-2 feet). The tube should ideally be at least 1/4 inch in diameter for accurate readings. - Use a ruler to mark measurements along the tube, ensuring consistency for reading pressure differences.
2. Fill the Manometer - Fill the manometer with your fluid of choice, leaving some space for fluid movement. If using colored water, it will make it easier to read the level differences.
diy differential pressure gauge
3. Install Pressure Taps - Drill two holes in the baseboard or plate where you'll mount the manometer. Ensure the holes are sized to snugly fit your pressure taps. - Insert the pressure taps into the holes, securing them with a sealing agent to prevent leaks.
4. Connect the Manometer - Connect one end of the U-tube to the first pressure tap and the other end to the second tap. Ensure that the connections are tight and leak-free using Teflon tape. - If using a sensor, connect the sensor’s input ports to the pressure taps and configure it according to the manufacturer's guidelines.
5. Calibration - Before using your gauge, it's essential to calibrate it. Use a known pressure source to apply pressure to one of the taps while leaving the other open to atmospheric pressure. Record the fluid level difference and adjust your measurements accordingly.
6. Using Your Gauge - Once calibrated, you can use your DIY differential pressure gauge. Monitor the fluid levels in the manometer to see the pressure difference between the two points in your system. You can convert the fluid height difference into pressure units (e.g., inches of water column) using appropriate conversion factors.
7. Data Logging and Display (Optional) - If you have incorporated a digital pressure sensor, connect it to your microcontroller. Program the controller to log pressure data and display readings in real-time on an LCD screen. This can enhance your gauge's functionality and ease of use.
Conclusion
Building a DIY differential pressure gauge is a rewarding project that not only saves money but also deepens your understanding of pressure measurement principles. By following the steps outlined above, you can construct a simple yet effective tool to monitor and analyze differential pressure in various applications. Whether for home projects, educational purposes, or simple experiments, this gauge can be a valuable addition to your toolkit. So, gather your materials and get started on your differential pressure gauge today!
-
High-Precision 5 Valve Manifold Differential Pressure Gauge Suppliers
NewsApr.29,2025
-
High-Precision Diaphragm Vacuum Pressure Gauges Manufacturers & Quotes
NewsApr.29,2025
-
Omega Differential Pressure Gauges High Accuracy & Durability
NewsApr.28,2025
-
Low Pressure Differential Pressure Gauges Precision Solutions & Quotes
NewsApr.28,2025
-
Digital Diaphragm Pressure Gaauge Precision Measurement & OEM Quotes
NewsApr.28,2025
-
Differential Pressure Gauge China Price High-Accuracy & Best Quotes
NewsApr.28,2025