

Sep . 25, 2024 15:43 Back to list
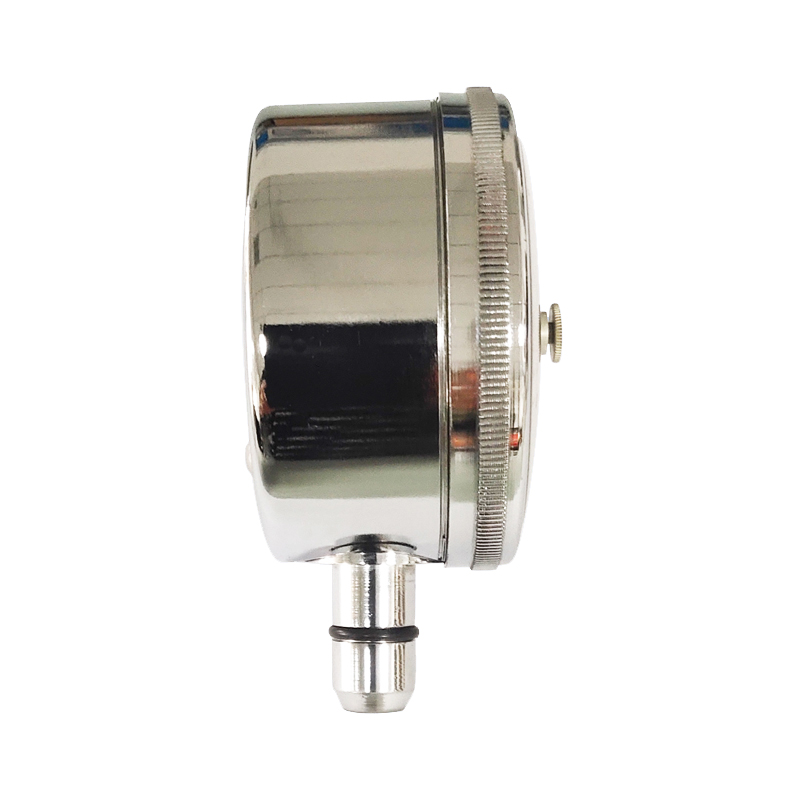
custom homemade differential pressure gauge
Creating a Custom Homemade Differential Pressure Gauge
Differential pressure is a critical measurement in various industries, including HVAC, manufacturing processes, and fluid dynamics. Understanding how to measure the difference in pressure between two points can be the key to ensuring the optimal performance of systems such as air filters, membrane processes, and even engine performance. While commercial differential pressure gauges are available, building a custom homemade gauge can be a fun, educational, and cost-effective alternative. In this article, we will explore the concepts behind differential pressure measurement and provide a step-by-step guide to creating your own gauge.
Understanding Differential Pressure
Differential pressure (DP) is defined as the difference in pressure between two points in a system. This measurement is crucial for monitoring the performance of various equipment, such as fans, pumps, and filters. A drop in pressure across a filter indicates that it is becoming clogged, while monitoring the DP across a pump can signal an issue with its operation.
To measure differential pressure, you typically require two pressure sensors connected to two different points in a system. However, for our homemade gauge, we'll simplify this process using a few basic materials.
Materials Needed
To build your custom differential pressure gauge, gather the following materials 1. U-tube manometer A clear plastic or glass tube bent into a 'U' shape. 2. Liquid Use colored water, oil, or a calibrated manometer fluid. 3. Pressure taps Tubing that can be connected to the points where you want to measure pressure. 4. Sealing tape To ensure airtight connections. 5. Scale To measure the displacement of the liquid in the manometer. 6. Mounting Material Such as a board or frame to hold the manometer in place. 7. Markers To label the scale and reference points.
Step-by-Step Construction
1. Prepare the Manometer Start by cutting the U-tube to the desired length while ensuring it is clean and free of debris. A longer tube will give you greater measurement sensitivity.
2. Connect Pressure Taps Drill holes in your mounting material to allow the pressure taps to connect to each side of the U-tube. Use a sealing tape to prevent leaks and connect the taps securely.
custom homemade differential pressure gauge
3. Fill the Manometer With the U-tube in the horizontal position, fill both sides with the liquid of your choice. Ensure that both sides are filled to equal levels before connecting the pressure points.
4. Setting Up the System Connect one end of the pressure taps to the desired points in your system (e.g., across a filter, fan, or pump). Ensure that the connections are snug and leak-free.
5. Liquid Displacement Measurement Once everything is connected, turn on the system and allow it to operate normally. Monitor the manometer for liquid displacement. The difference in height between the two liquid columns (measured in millimeters or inches) is directly related to the differential pressure in your system.
6. Calibrate Your Gauge To obtain accurate measurements, it might be necessary to calibrate your gauge. You can do this by comparing it against a known standard pressure measurement, adjusting the scale accordingly.
Advantages of a DIY Differential Pressure Gauge
Creating a homemade differential pressure gauge has several key advantages
- Cost-effectiveness Commercial sensors can be pricey, but building your own allows you to save money. - Educational Experience The process teaches valuable principles of fluid dynamics and instrumentation. - Tailored Design You can modify the gauge to fit specific needs or applications based on the intended use.
Conclusion
A custom homemade differential pressure gauge is a practical project that highlights the principles of pressure measurement. With a basic understanding of the components involved and a few simple materials, you can create an effective tool that not only serves a functional purpose but also deepens your understanding of fluid dynamics. Whether for educational purposes, hobby projects, or practical applications, this DIY gauge opens doors to a more hands-on approach to engineering and measurement.
-
Precision Differential Pressure Gauge Assembly Reliable & Customizable Solutions
NewsMay.29,2025
-
WIKA Sanitary Diaphragm Pressure Gauge High Precision & Durability
NewsMay.29,2025
-
HD Fire Pressure Gauges High Accuracy & Durable Solutions
NewsMay.28,2025
-
Custom Singles Capsule Systems Top Exporters & Factories
NewsMay.28,2025
-
Piston-Style Differential Pressure Gauges Precision & Durability
NewsMay.28,2025
-
WIKA Differential Pressure Gauge 700.04 High-Accuracy Industrial Measurement
NewsMay.28,2025