

Jul . 28, 2024 13:31 Back to list
Exploring Companies Specializing in DIY Differential Pressure Gauge Solutions and Equipment Manufacturing
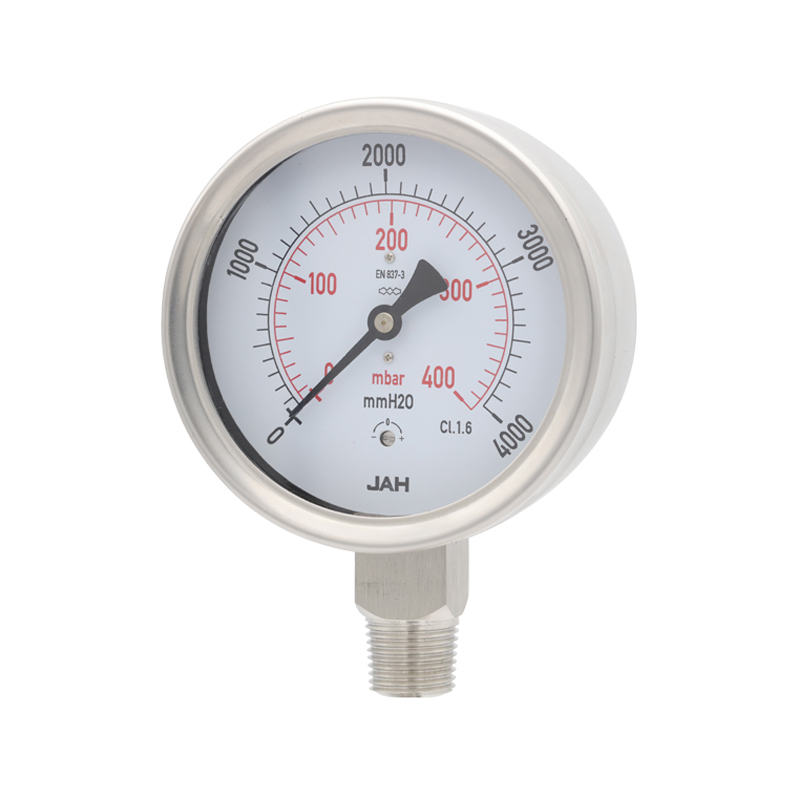
DIY Differential Pressure Gauge A Comprehensive Guide
Differential pressure gauges are essential instruments used to measure the pressure difference between two points in a system. These devices are critical in various industries, including HVAC, water treatment, and manufacturing processes. Understanding how to create a DIY differential pressure gauge can provide you with a cost-effective alternative for monitoring pressure variations in your project. In this article, we will explore the components, construction, and applications of a DIY differential pressure gauge.
Understanding Differential Pressure
Before diving into the construction of a DIY gauge, it is essential to understand the concept of differential pressure. Differential pressure is the difference in pressure between two points in a system, which can indicate a range of conditions such as flow rates, filter status, and system health. For example, in HVAC systems, measuring differential pressure across air filters helps maintain optimal airflow and energy efficiency.
Components Required
To build your own differential pressure gauge, you will need the following components
1. Pressure Sensors These can be piezoresistive sensors or membrane sensors. Choose sensors capable of measuring small pressure differences accurately.
2. Microcontroller An Arduino or Raspberry Pi can be used to process the sensor data. These platforms are user-friendly and have extensive community support.
3. Display Module An LCD or OLED display will allow you to view the pressure readings easily.
4. Tubing and Fittings Ensure the tubing can securely connect the pressure sensors to the system from which you want to measure differential pressure.
5. Power Supply Depending on your microcontroller choice, make sure you have a suitable power source.
diy differential pressure gauge companies
6. Data Logging Module (optional) If you want to log pressure readings for later analysis, consider integrating a real-time clock module and SD card module with your microcontroller.
Construction Steps
1. Connect the Pressure Sensors Start by connecting the positive and negative terminals of the pressure sensors to the microcontroller. Ensure that the sensors are appropriately connected to the input points of your system.
2. Program the Microcontroller Write a code to read the pressure data from both sensors. The code should calculate the difference and display it on your chosen display module. Libraries are available for various sensors and displays, simplifying the coding process.
3. Set Up the Display Mount the display in a way that makes it easily readable while allowing the setup to be compact. Make sure to adjust the code to format the readings appropriately.
4. Enclosure To protect your setup from dust and moisture, consider housing it in a project box. Ensure your pressure sensors have access to the environment they are monitoring.
5. Testing Before deploying your gauge, conduct tests to ensure accuracy. Compare readings from your DIY gauge with a calibrated differential pressure gauge to validate performance.
Applications of DIY Differential Pressure Gauges
DIY differential pressure gauges can serve various purposes across different fields. In HVAC systems, they can monitor airflow across filters and ducts, ensuring optimal performance. In liquid systems, they can help assess pump performance and filter health. In research laboratories, they can be used to measure pressure drops in filtration experiments. Ultimately, the versatility and cost-effectiveness of a DIY gauge make it a valuable tool for hobbyists and professionals alike.
Conclusion
Creating a DIY differential pressure gauge is an excellent project for those interested in instrumentation, engineering, or home automation. Not only does it provide an understanding of pressure measurement principles, but it also offers practical applications in various sectors. By gathering the right components and following systematic construction steps, you can build an effective and accurate differential pressure gauge tailored to your specific needs.
-
High-Precision 5 Valve Manifold Differential Pressure Gauge Suppliers
NewsApr.29,2025
-
High-Precision Diaphragm Vacuum Pressure Gauges Manufacturers & Quotes
NewsApr.29,2025
-
Omega Differential Pressure Gauges High Accuracy & Durability
NewsApr.28,2025
-
Low Pressure Differential Pressure Gauges Precision Solutions & Quotes
NewsApr.28,2025
-
Digital Diaphragm Pressure Gaauge Precision Measurement & OEM Quotes
NewsApr.28,2025
-
Differential Pressure Gauge China Price High-Accuracy & Best Quotes
NewsApr.28,2025