

12 月 . 21, 2024 14:15 Back to list
Creating Your Own Differential Pressure Gauge for DIY Projects and Services
DIY Differential Pressure Gauge A Comprehensive Guide
Differential pressure gauges are essential tools used in various industrial applications, including HVAC systems, filtration monitoring, and fluid dynamics. They measure the difference in pressure between two points in a system, providing valuable insights into equipment performance and fluid flow rates. While professional gauges can be expensive, creating your own DIY differential pressure gauge is a cost-effective solution, especially for hobbyists, students, or small business owners. This article provides a comprehensive guide on how to service and maintain your DIY differential pressure gauge, ensuring its accuracy and longevity.
Understanding Differential Pressure Gauges
Before diving into the DIY aspect, it’s crucial to understand how differential pressure gauges work. These devices consist of two pressure sensing ports. One sensor reads the pressure from point A, while the other measures pressure from point B. The gauge then displays the difference between these two measurements. This difference can indicate whether a filter is clogged, how well a pump is operating, or whether there's a leak in a system.
Materials Needed
To build a DIY differential pressure gauge, you will need the following materials
1. Manometer Tubing Transparent tubing is ideal for visualizing the fluid motion and pressure changes. 2. Pressure Sensors You can use analog pressure sensors for basic measurements or digital sensors for enhanced accuracy. 3. Fluid (Water or Oil) This acts as the measurement medium within the tubing. The choice of fluid will depend on the pressure range you wish to measure. 4. Mounting Base A sturdy base to attach the gauge components. 5. Sealing Materials Ensures that the setup is airtight and avoids pressure loss. 6. Calibration Weights To accurately calibrate the pressure readings.
Step-by-Step Guide to Building Your Gauge
1. Design Your Layout Start by sketching out a design for your differential pressure gauge. Map out where the sensors will be placed and how the tubing will connect to them.
2. Assemble the Components Attach the pressure sensors to each end of the manometer tubing. Ensure that the connectors are tight and leak-proof.
3. Fill the Tubing with Fluid Carefully fill the tubing with your chosen fluid. Make sure to eliminate any air bubbles, as they can skew your readings.
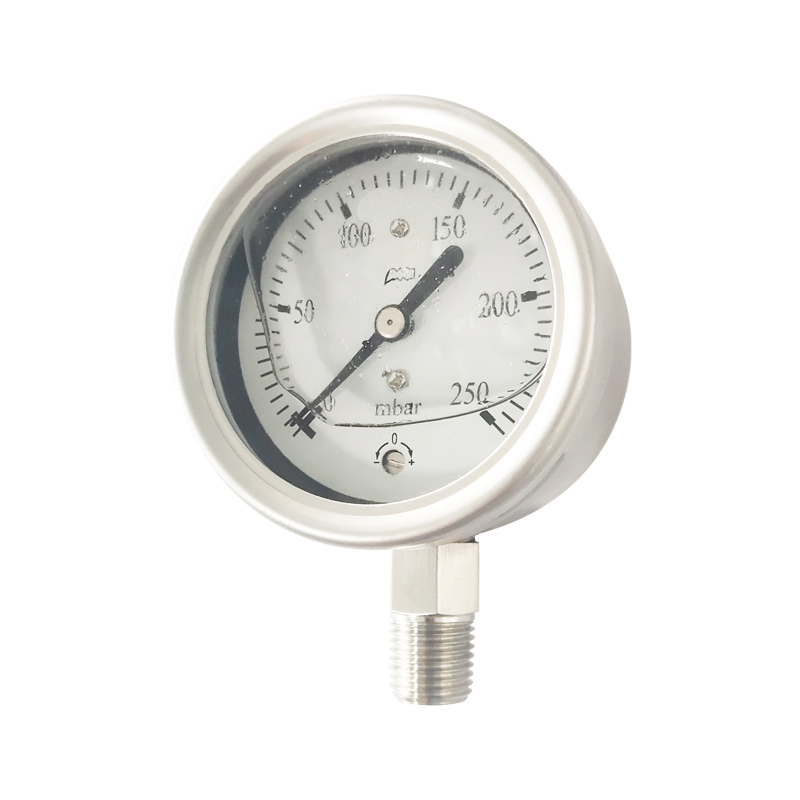
diy differential pressure gauge service
5. Mount the Gauge Secure the entire assembly to your mounting base, ensuring it's stable and won’t tip over during use.
6. Calibration To calibrate your gauge, you can use known pressure values. Place calibration weights on the system or use a calibrated source of pressure to ensure accurate measurements. Adjust the readings on your gauge according to the known pressures.
Servicing Your Differential Pressure Gauge
To maintain the accuracy and longevity of your DIY differential pressure gauge, regular servicing is essential. Here are some key maintenance tips
1. Regular Calibration Every couple of months, re-calibrate the gauge using known pressure references. Environmental factors can affect readings over time.
2. Inspect for Leaks Regularly check all connections for signs of leakage. Even tiny leaks can lead to inaccurate measurements.
3. Clean the Sensors Dirt and debris can accumulate on pressure sensors over time. Clean them gently with a soft cloth and appropriate cleaning solution to prevent measurement errors.
4. Check Fluid Levels Periodically inspect the fluid levels in the tubing. If the fluid seems low, refill it to maintain accurate pressure readings.
5. Store Properly When not in use, store the gauge in a cool, dry place away from direct sunlight to prevent damage to the components.
Conclusion
A DIY differential pressure gauge can be a rewarding project that enhances your understanding of pressure measurement in systems. By following the steps outlined above and regularly servicing your gauge, you can ensure accurate readings and a long lifespan for your device. Whether for educational purposes or practical applications, building and maintaining your differential pressure gauge is a skill that will benefit you greatly in various fields, from engineering to science experiments. Enjoy your hands-on experience in understanding and measuring the dynamics of pressure!
-
Bourdon-Type Differential Pressure Gauges High Accuracy & Affordable Pricing
NewsMay.22,2025
-
Vacuum Differential Pressure Gauges High-Precision Solutions & Quotes
NewsMay.22,2025
-
Durable Diaphragm Pressure Elements High Accuracy & Custom Quotes
NewsMay.22,2025
-
AG Precision Pressure Gauges High Accuracy & Global Exporters
NewsMay.21,2025
-
Ashcroft Diaphragm Pressure Gauges Precision & Durability
NewsMay.21,2025
-
Micro Differential Pressure Gauges High-Precision & Compact Solutions
NewsMay.20,2025